




LED strip lights with double sided tape are bought as a fifteen-minute job and returned as a three-week argument, and the part that fails is almost never the diodes. It is the fastener: a film of pressure-sensitive adhesive perhaps a fifth of a millimetre thick, chosen by whoever was buying components that month, asked to hold an electrical product onto somebody else’s wall for years.
The bond mechanics of a strip letting go of a warm, ribbed plastic panel are already written up in our guide to TV backlight kits, and this piece does not repeat them. It covers the part a buyer controls at the order stage: which surfaces the factory backing was ever going to hold on, how to grade the adhesive on a supplier sheet, and what mechanical hardware belongs in the carton. Anyone scoping a programme of wholesale LED strip lights is making that decision for every SKU at once, usually without noticing they made it.
Key takeaways
Spec the fastening, not only the tape. The wall decides whether adhesive alone can ever work, the adhesive family decides the temperature ceiling, and one clip at each end turns a peel failure into a non-event.
- Pressure-sensitive adhesive bonds under light pressure with no water, heat, drying or curing step (Avery Dennison), so everything the bond will ever be comes from contact area made in the first seconds.
- Published service-temperature ceilings for adhesive families run from 160°F (70°C) for general-purpose rubber to 400°F (205°C) for high-performance acrylic. A sheet that says only strong adhesive backing has told a buyer nothing.
- Gypsum board finished to GA-214 Level 3 is a substrate for texture, not a smooth painted wall (National Gypsum). Rough surfaces limit the contact a tape backing can reach, which is what leaves a run drooping or falling away (LEDSupply).
- New brickwork carries efflorescence, and the Brick Industry Association advises allowing one year of weathering for new-building bloom to clear on its own. A salt bloom is a release layer.
- Mechanical clips are the cheapest insurance on the bill of materials: one trade supplier lists a 15-clip pack at $1.99 and suggests roughly one clip per foot of run.
Why the Fastener Is the Line Nobody Fills In
A strip enquiry arrives with diodes per metre, colour temperature, a colour rendering figure, an ingress rating and a controller tier. It almost never arrives with a line describing what holds the product to the building. That omission is expensive in a way the other lines are not, because a run that lifts does not fail quietly in a drawer; it fails in the customer’s living room, at night, in front of the person who bought it.
The money side is public. The National Retail Federation put total retail returns at $849.9 billion for 2025, and found that 82% of consumers call free returns an important consideration when shopping online (NRF). A lighting product that detaches generates the most expensive kind of return: it comes back complete, it cannot be resold as new, and it arrives with a review attached. None of that is caused by the diodes.
On the supply side the tape is a purchased component with its own grade and its own price, and on most strip bills of materials it is among the cheapest lines. A reel maker can change adhesive supplier between production runs without a single figure on the published specification changing. That is the gap this article is about, and it is a gap a buyer can close with four sentences in a purchase order.
The Substrate Decides Before the Adhesive Does
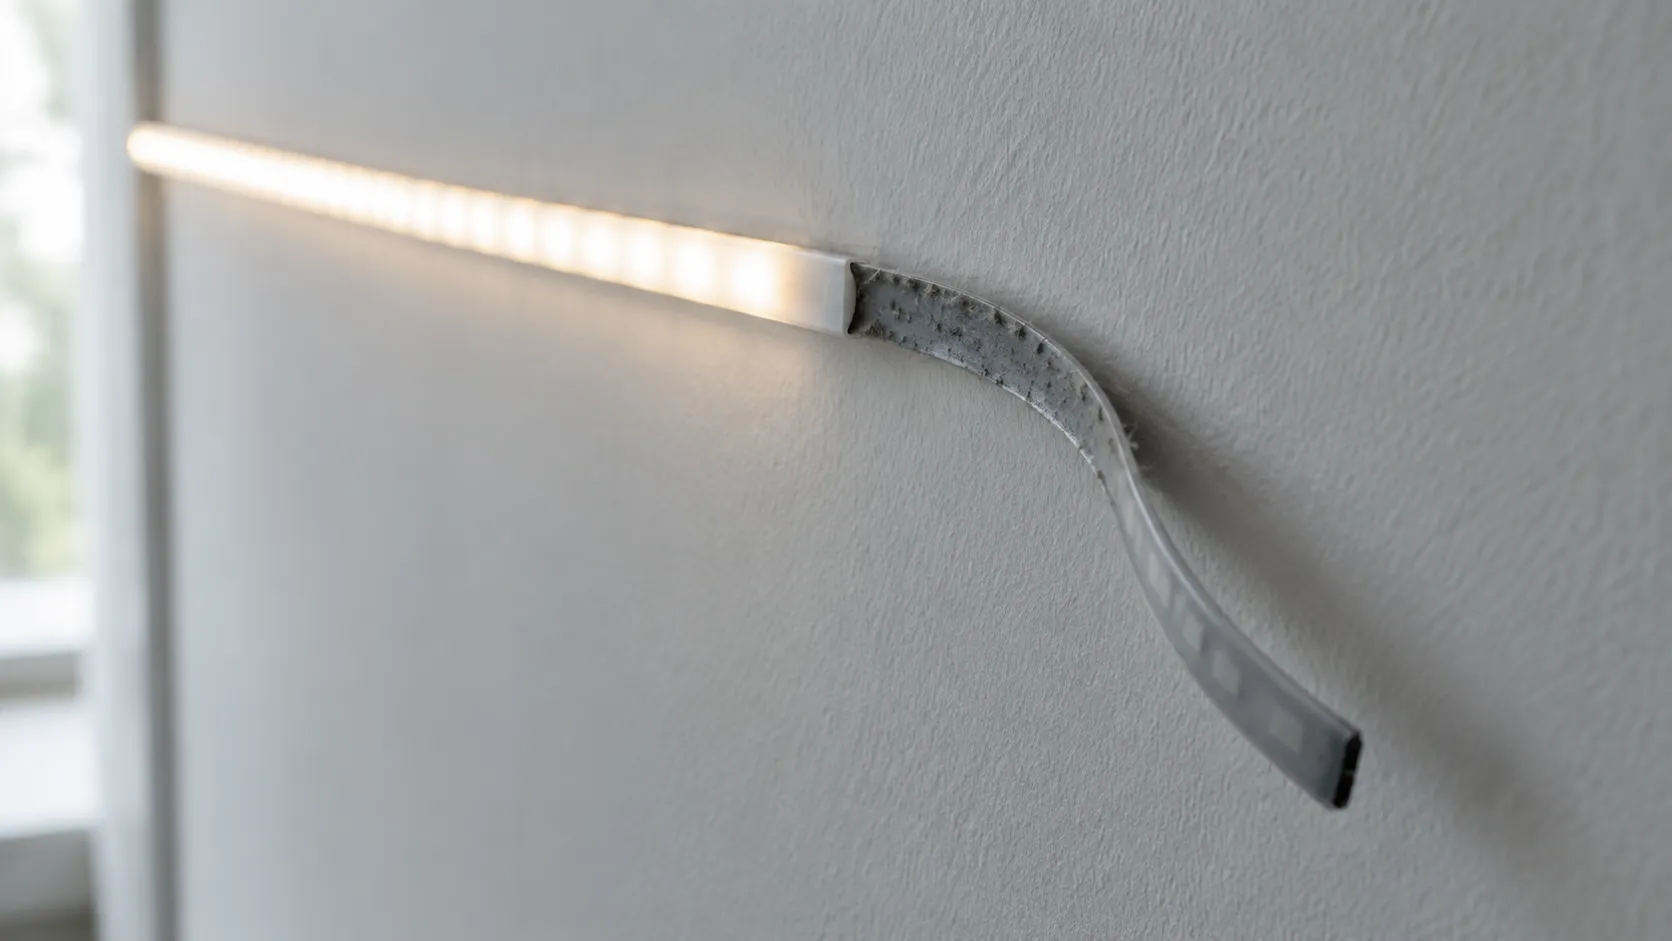
Pressure-sensitive adhesives, as Avery Dennison’s performance tapes documentation puts it, form a bond when light pressure is applied: no water, no heat, no drying or curing time. That convenience is also the constraint. A structural adhesive wets a surface chemically over hours; a pressure-sensitive film gets whatever contact area it can reach in the seconds a thumb is on it, and then keeps only that. Contact area is a property of the wall, not of the tape.
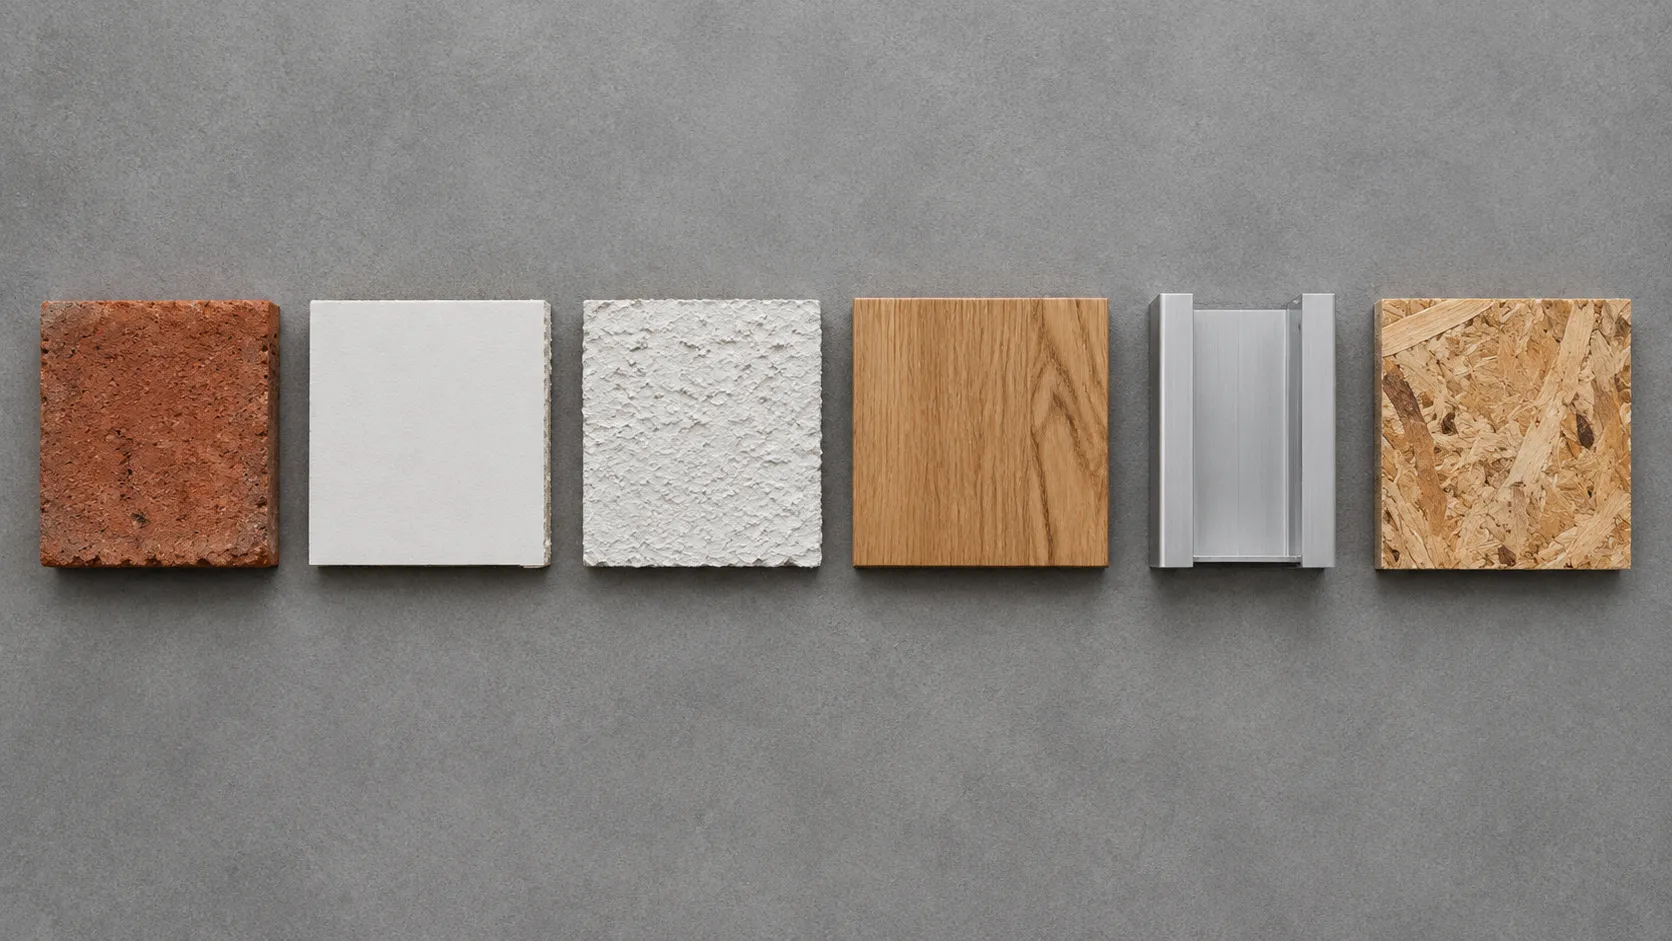
Gypsum board makes the point cleanly because the trade already grades its own surfaces. Under the GA-214 finish levels, Level 3 is typically specified in appearance areas that will receive heavy or medium texture finishes before final painting, and is expressly not recommended for smooth wall designs, while Level 4 covers smooth walls decorated with flat paint and Level 5 covers gloss, deep tones and critical lighting (National Gypsum). A strip pressed onto a Level 3 wall touches the peaks of a texture coat and nothing between them. The buyer is not fighting a weak adhesive; the buyer is fighting a surface that was specified to be rough.
Brick behaves the same way for two separate reasons. Clay units are fired at 1800 to 2100°F (980 to 1150°C) and come out porous and irregular, and the Brick Industry Association notes that unit texture and absorption are properties affecting the bond strength of a masonry assembly. That sentence is about mortar rather than tape, but it names the same two surface properties an adhesive film has to live with. Then there is the bloom: the association’s cleaning guidance is to allow one year of weathering for new-building efflorescence to disappear naturally. Salt crystals migrating to the face of a wall are, from the adhesive’s point of view, a release coating that renews itself.
Construction sheathing is the surface installers most often assume is friendly and is not. APA describes oriented strand board as thin rectangular wood strands cross-oriented in layers and bonded under heat and pressure with moisture-resistant adhesives to Voluntary Product Standard PS 2. The face is strands and resin, never flat at the millimetre scale, and it takes a screw far better than it takes a film.
The exception in the table below is the one worth designing around. An aluminium extrusion is flat, clean and high-energy, which is why a strip sticks to a channel more reliably than to almost any wall, and the channel can then be screwed to whatever is behind it. Where the geometry needs that answer instead of tape, the profile families are set out in our guide to the LED channel for strip lights.
| Substrate | What the face actually is | Backing alone | What belongs in the carton |
|---|---|---|---|
| Smooth painted gypsum board, GA-214 Level 4 or 5 | A cured paint film over paper, flat enough for full contact | Usually holds | Nothing extra, though a clip at each end is cheap |
| Textured or Level 3 gypsum board | A deliberate texture coat; contact is peaks only | No | Clips and screws, or a channel fixed to the framing |
| Bare or painted brick and block | Porous, irregular, and on new work carrying efflorescence | No | Channel or clips with masonry plugs |
| Finished timber, MDF and melamine shelf edge | Sealed, often waxed or carrying release agent | Sometimes, and it lifts in peel first | A clip at both ends and at every corner |
| Aluminium channel or extrusion | Flat, clean, high-energy metal | Yes; this is the surface the film suits | Screws or brackets for the channel itself |
| OSB and construction sheathing | Strands and resin bonded under heat and pressure | No | Clips and screws, which the board holds well |
Grading the LED Light Adhesive on the Spec Sheet
An LED light adhesive line on a supplier sheet usually reads as a brand name or as the phrase strong self-adhesive backing, and neither is a specification. The useful question has three parts: which adhesive family, what service-temperature ceiling, and which substrate class was it formulated for. All three are published information in the tape industry, so a supplier who cannot answer is telling a buyer something about how the component was bought.
Avery Dennison’s selection data for pressure-sensitive tapes puts numbers on the families. General-purpose rubber tops out at 160°F (70°C) and a high-shear rubber at 175°F (80°C); emulsion and pure acrylics sit at 250°F (120°C); a general-purpose acrylic, a high-shear acrylic and the LSE modified acrylic all reach 350°F (175°C); the high-performance acrylic grade is rated to 400°F (205°C). The LSE modified acrylic is the one described for textured and low surface energy substrates, which is the description a strip on a wall actually needs.
Source: Avery Dennison Performance Tapes, pressure-sensitive adhesive tape selection data, retrieved 2026-09-20
Here is the part that stops a buyer from simply ordering the strongest thing on the list. Tack, peel and shear are not one dial. MC Polymers, writing for adhesive formulators, states plainly that it is difficult to maximise tack, peel and shear at the same time, and that tack and peel are usually in opposition to shear. An adhesive tuned to grab a rough wall on first contact is not the same adhesive that will hold a long horizontal run against its own weight for the life of the fixture, and a supplier quoting one number is quoting the flattering one.
Ask which test produced the figure as well. PSTC-101, the harmonised peel standard, runs Method A at 180 degrees at 5 mm per second and Method F at 90 degrees, and the two angles do not return the same number on the same tape. A peel figure without an angle and a rate is a marketing figure.
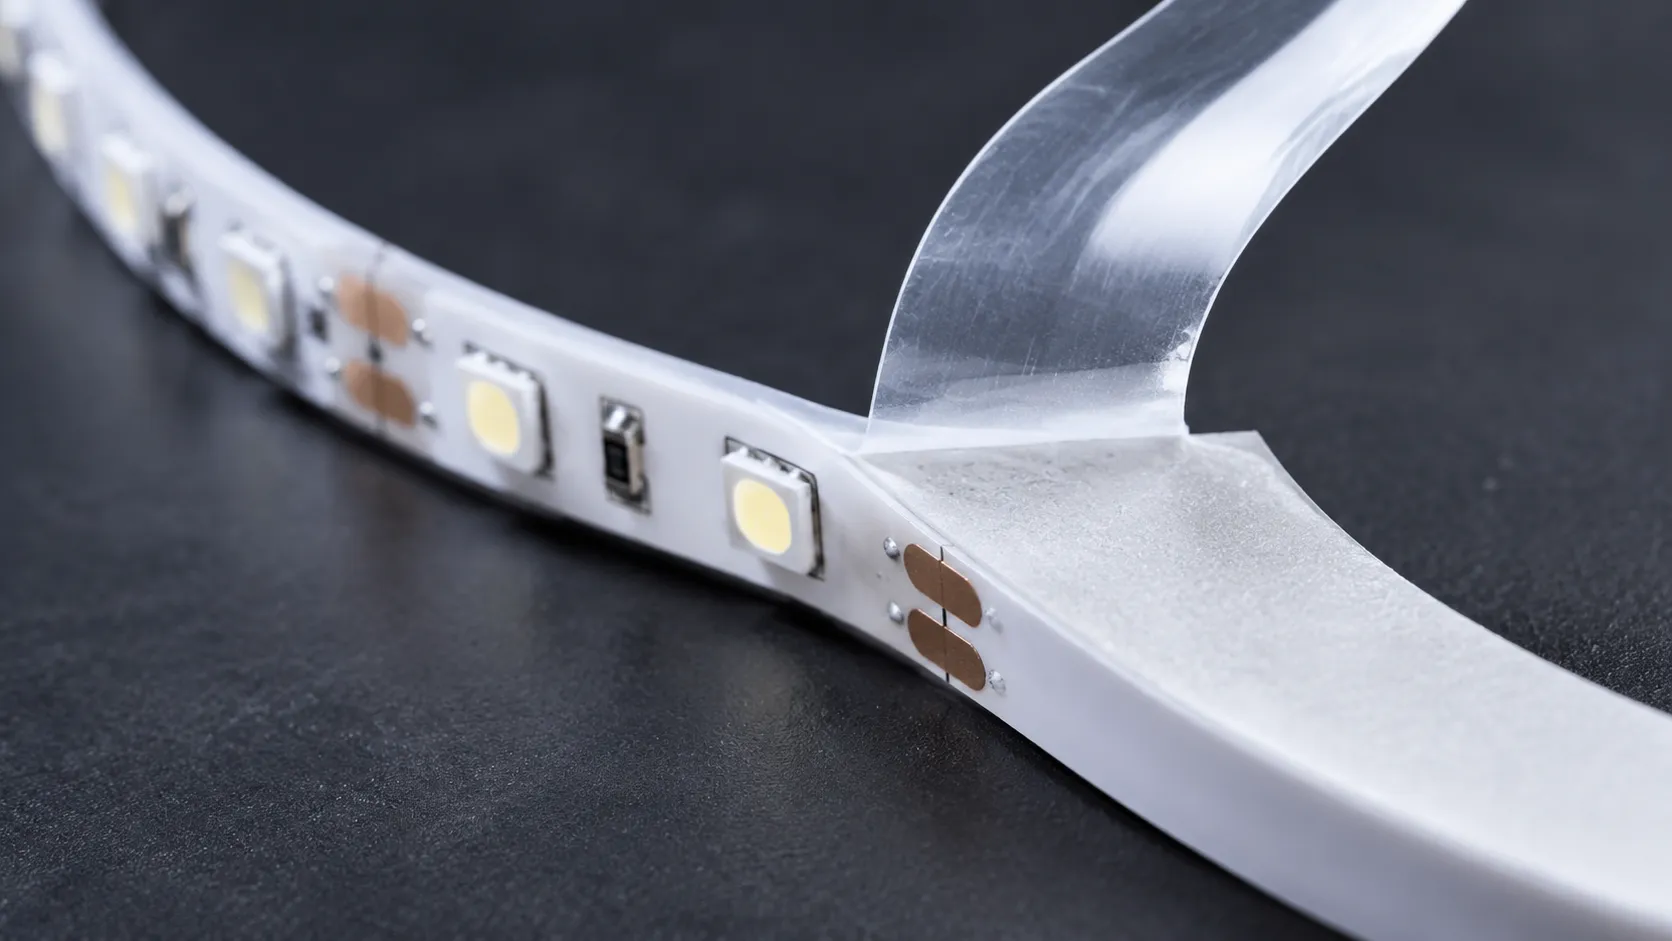
LED Strip Lighting Clips Are the Cheapest Line on the Bill
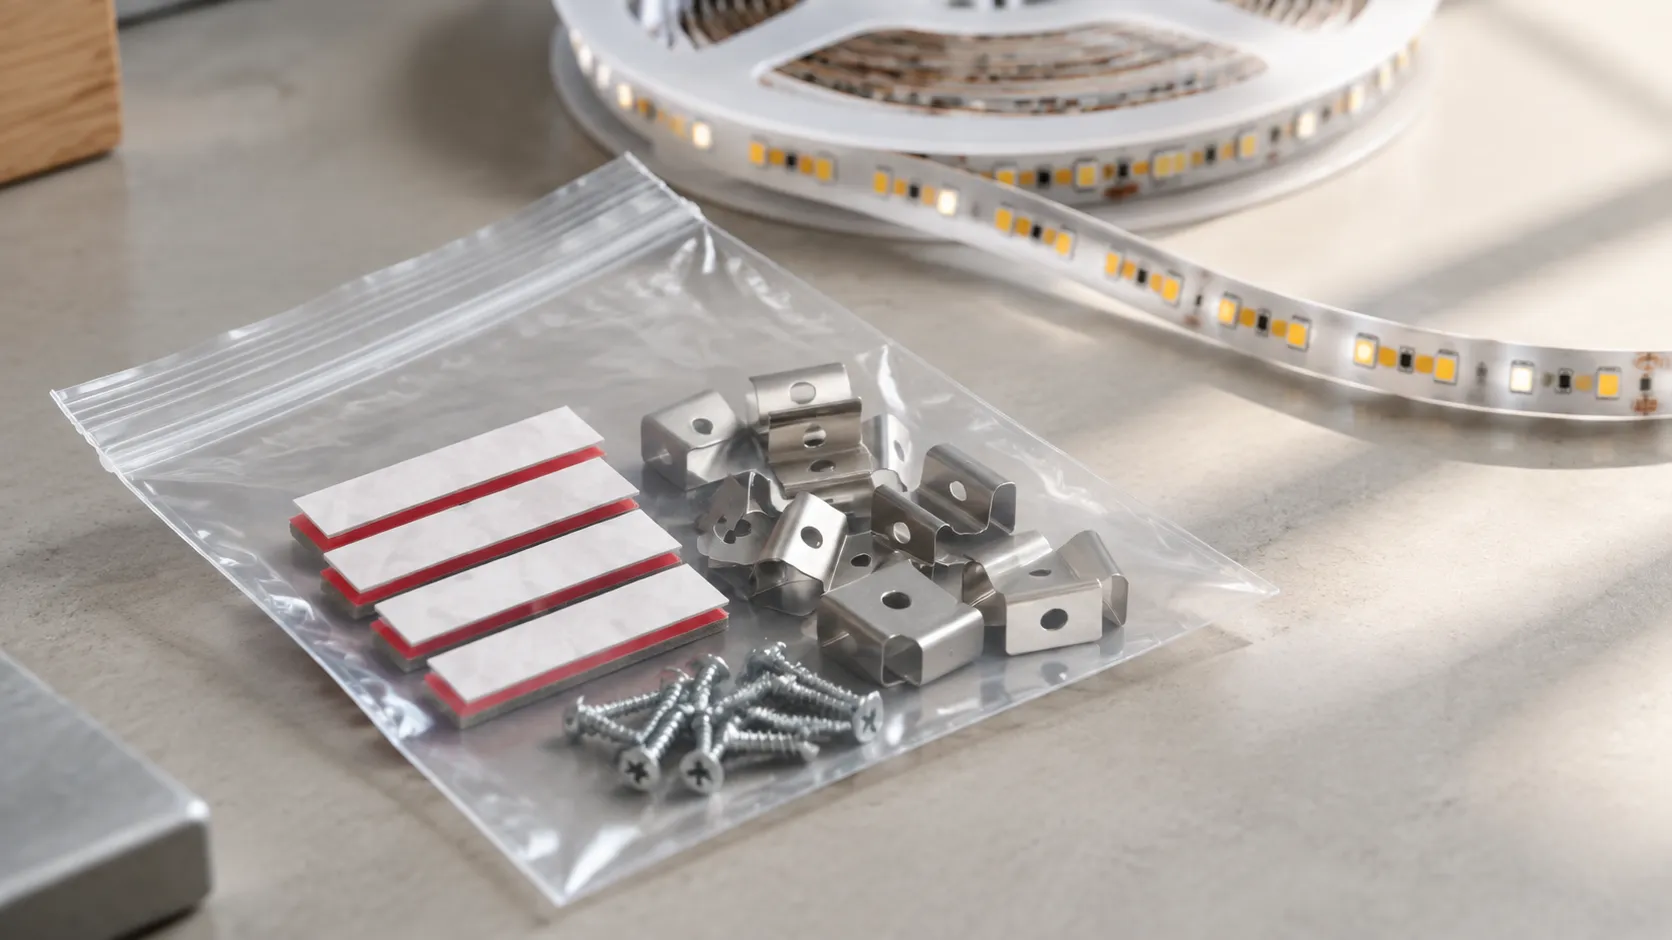
LED strip lighting clips are small screw-through retainers that sit over the tape and hold it mechanically, and they exist because adhesive is excellent in shear and poor in peel. Every failure mode a retailer hears about is a peel failure: an end lifting, a corner springing off a return, a run sagging away under its own weight once the first centimetre has let go. A clip converts peel into shear, which is the load the film is good at.
The economics are not close. LEDSupply, a trade supplier, prices a pack of 15 one-screw clips at $1.99 and suggests roughly one clip per foot of strip. Even at one clip every two feet, our own rule of thumb on a supported horizontal edge, the hardware cost per metre stays in cents while the cost of one replacement unit plus outbound and inbound freight is measured in tens of dollars. Nobody has ever written a bad review about a screw.
There is a trade-off worth stating honestly, because it cuts against the easy upsell. A high-strength foam tape on painted gypsum board can tear the paint and the paper face off the wall rather than release cleanly, which turns a lighting complaint into a decorating complaint. On a rented wall a clip leaves a screw hole the size of a pin; strong tape can leave a patch that needs filling and repainting. Where a customer is a tenant, the right answer is the weaker tape plus the screw, not the stronger tape.
Whether the clips are in the box is a purchasing decision, not a manufacturing one, and the honest version is that most low-cost reels ship without them. Our own under-cabinet motion strip kit is packed as a kit for that reason. For cove and eaves work, where a run is overhead and gravity pulls on the joint all day, the placement logic sits in the companion piece on ceiling and cove runs.
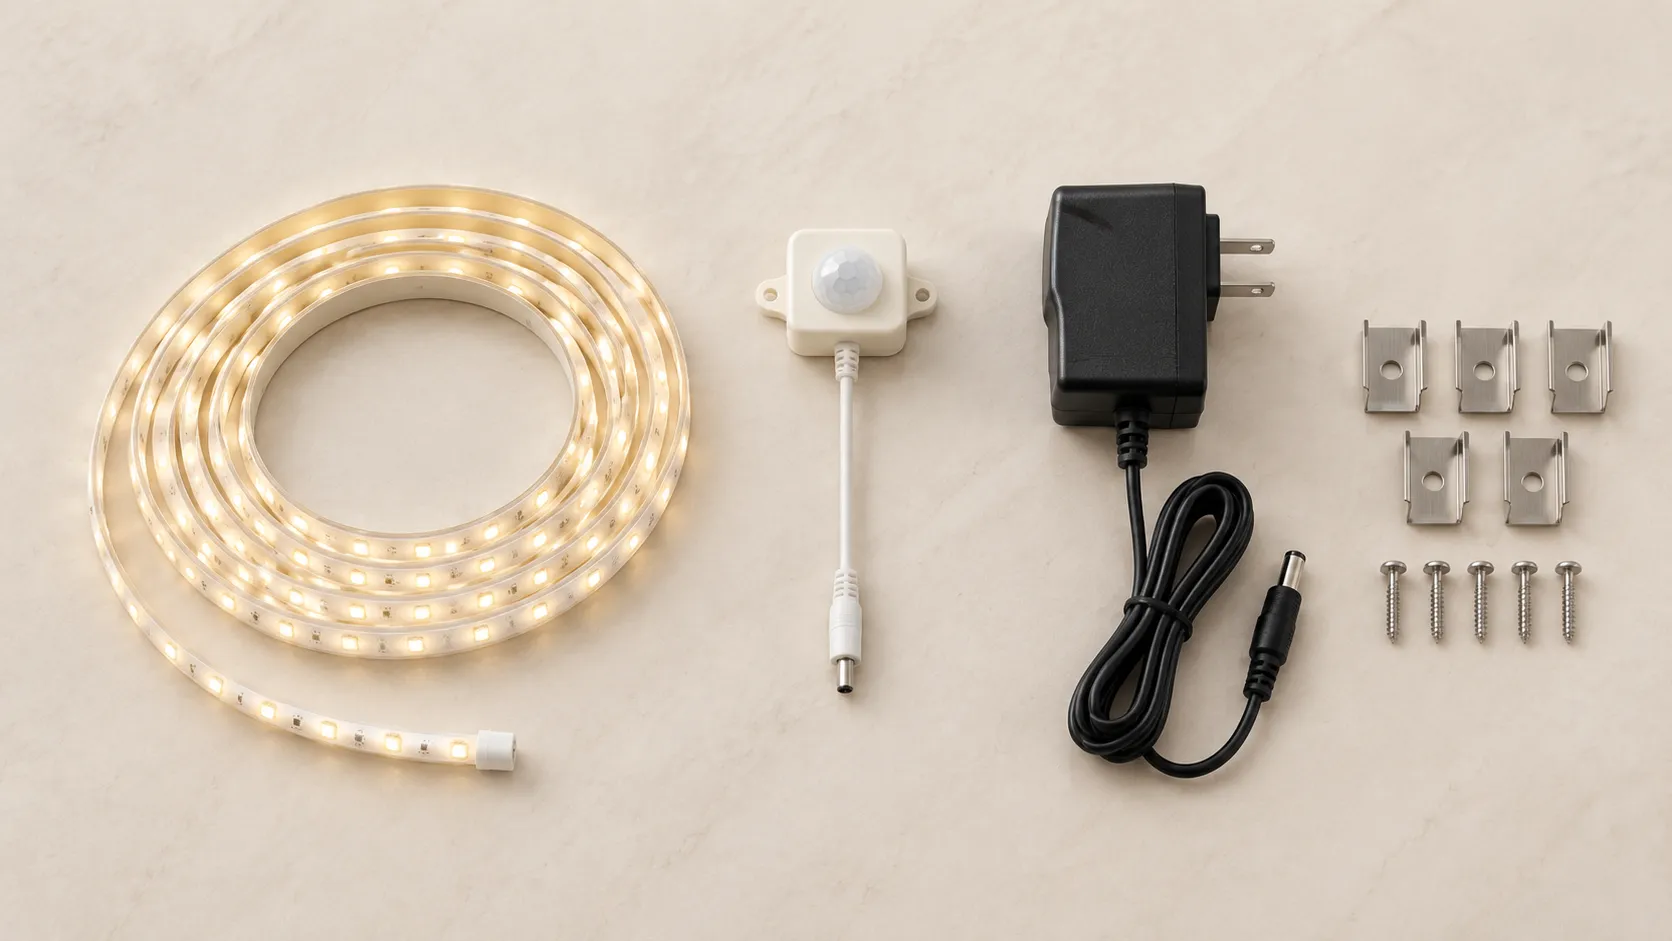
Replacement Adhesive: Two Different Parts, Not One
Spare adhesive does two unrelated jobs and most programmes only budget for one. The first job is a short length in the carton so the installer who has just peeled a run off a bad wall can re-site it the same afternoon. The second is a reorderable part in your own warehouse so a customer service email three months later is answered with a shipment rather than with a replacement unit. Same material, completely different line items.
Specify the spare the way you would specify any component. State the width so it matches the tape carrier on your own reel rather than the strip; state the family as acrylic rather than rubber so the ceiling is 250°F (120°C) or better; state that it arrives on a liner in cut lengths rather than as a roll the customer has to trim; and avoid writing a brand name into the specification, because a brand name is what gets substituted quietly when the price moves. A family plus a ceiling plus a width survives a supplier change; a brand does not.
Do not let this section turn into a general accessory list. The parts list for a kitchen programme, with drivers, profiles and the rest, already exists in our guide to LED strip lights for kitchens, and repeating it here would only push the fastening decision further down the page. The only addition this article argues for is the pairing: every carton that contains adhesive should also contain the mechanical part that makes the adhesive optional.
LED Lighting Strip Installation in the Order That Prevents Callbacks
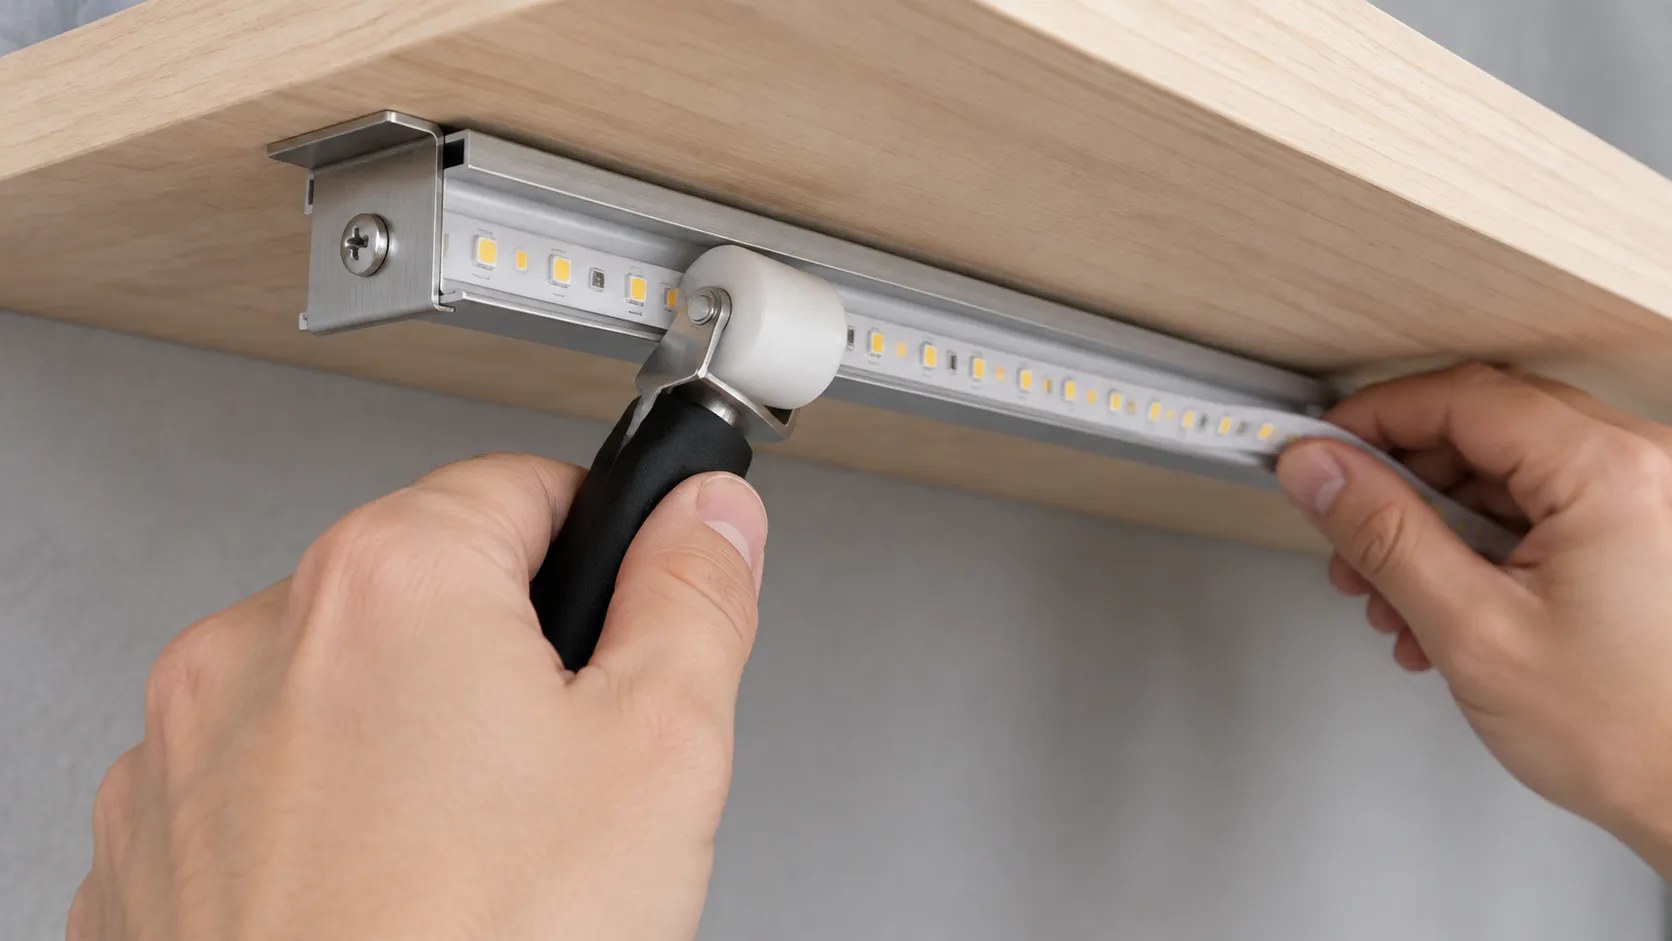
LED lighting strip installation goes wrong in sequence more often than in technique. Almost every avoidable failure comes from peeling the liner before anyone has confirmed the line, the length or the surface, at which point the tape has already collected dust and the installer is committed to a position that was never measured. The order below costs nothing and removes most of that.
Confirm the wall, not the room
Ask which finish level the board was taken to, whether the brickwork is new, and whether the timber is sealed. That one answer decides whether hardware is optional or mandatory.
Dry-lay the run with the liner still on
Lay the reel along the intended line, mark both ends and every corner, and confirm the feed actually reaches where the driver will live.
Clean, then let the surface go properly dry
Wipe the run line and then leave it alone for a while. Damp masonry and a fresh paint film both defeat a film that has no curing step to fall back on.
Bond the whole length, then anchor the ends
Press along the entire run rather than at the ends, then set a clip at each end and at every corner before the strip is powered for the first time.
Dress the cable and hand over the spares
Route the feed, label the driver, and leave the spare adhesive and two spare clips with the customer rather than in the van.
Two of those steps have their own literature and are deliberately one line here. Where a run has to be shortened or rejoined, the cut points and the connector count belong to our piece on cutting LED strip. Where the feed has to be planned before joinery is built and closed up, the cable-first argument is set out in the guide to closet and wardrobe runs.
On pressure and waiting, one sentence is enough: press the full length rather than the ends and leave the run unloaded overnight, because a pressure-sensitive bond arrives in stages rather than all at once. The figures behind that instruction, and the prep card that belongs in a backlight carton, are in the TV kit guide.
Writing the Fastening Spec Into the Purchase Order
Four lines close most of the gap, and none of them requires a laboratory. Name the adhesive family and the service-temperature ceiling you will accept. Name the substrate class the tape was formulated for, in the supplier’s own words. State how many clips and screws ship per metre of strip, and whether they sit in the retail carton or in a separate trade pack. State the width, family and format of the spare adhesive. A supplier who answers all four is a supplier who knows what they bought.
The sample check takes ten minutes and is worth more than the four lines. Stick a 300 mm length to a board finished the way your customers’ walls are finished, leave it overnight, then pull it off at a right angle and look at what comes away. Clean release means the adhesive was under-specified for that face. Paint on the back of the tape means it was over-specified and the wall is now the weak link. Torn foam and nothing else is the answer you want, and it tells you the clip is there for peel rather than for failure.
The honest limit is that we build reels and we do not build walls. We can put a named adhesive family and a counted clip pack into a carton; we cannot put a Level 4 finish behind it, and no adhesive we could specify will survive a run stuck to fresh efflorescence. That is why the hardware belongs in the box. If you are standardising fixing hardware across a full range of LED strip lighting, decide it once at programme level rather than SKU by SKU, and the returns line moves before the next season ships.
Have the fastening specified with the reel, not after it
We build LED strip in our own factory in Foshan, 4,000 square metres with 40 people across two production lines, so the adhesive family, the clip count and what goes in the carton are lines you write rather than a catalogue you pick from. Tell us what walls your customers actually have and we will quote the run with the hardware in it.
Watch it work
Why the wall decides, what the adhesive family caps and where the clips go, in 30 seconds:
FAQ
Will led strip lights with double sided tape stick to a brick wall?
Treat that as a no and plan the fixing around it. Brick fails the film on porosity and on chemistry at the same time, and on a new wall the surface is also growing salts for its first season. The workable versions are a channel plugged into the mortar joints, or clips into the joints with the strip bridging between them. Both leave the tape doing nothing structural, which on brick is exactly the right job for it.
How many led strip lighting clips does a run actually need?
Count corners first, then span. Every end, every direction change and every joint gets one regardless of length, because those are the points loaded in peel. Between them, a clip every foot is the trade supplier default and a clip every two feet is our own rule of thumb on a supported horizontal edge. Vertical runs and anything overhead go back to the shorter interval, since gravity works on the joint continuously rather than occasionally.
What led light adhesive should we send as a spare in the box?
Match it to the carrier rather than to the strip, and print that width on the bag, because a customer who has lost the bag reorders by whatever number is still readable, and an oversize spare overhangs the carrier and collects dust before it ever reaches the wall. Send a short cut length on its liner rather than a roll, so nobody finishes the job with kitchen scissors. Then give the spare a part number of its own: a repair part that exists only as a line in a spec sheet cannot be picked and shipped by the person answering the email three months later.
Does the tape have to come off cleanly at the end of a tenancy?
For any product aimed at renters, yes, and it should be a stated design constraint rather than an afterthought. A removable-grade adhesive plus clips into the studs gives a wall that needs a pin-hole filler and no painting; a high-strength foam tape gives a wall that needs a decorator. Retailers selling into student and rental channels should be asking suppliers which of those two outcomes their current backing produces, because it decides the review score more than brightness does.
Sources
Every external figure above was checked on 2026-09-20: adhesive families and service-temperature ceilings from Avery Dennison, gypsum board finish levels from National Gypsum, masonry properties and efflorescence guidance from the Brick Industry Association, panel construction from APA, mounting hardware pricing from LEDSupply, returns data from the National Retail Federation, and adhesion test definitions from MC Polymers and Industrial Physics.
- Avery Dennison Performance Tapes, Pressure-sensitive adhesive tapes (PSAs bond under light pressure with no water, heat, drying or curing time; maximum service temperatures by family from 160°F / 70°C general purpose rubber to 400°F / 205°C high performance acrylic; LSE modified acrylic described for textured and low surface energy substrates), retrieved 2026-09-20.
- National Gypsum, Gypsum Board Finish Levels (GA-214 Level 3 specified for heavy or medium texture finishes and not recommended for smooth wall designs; Level 4 for smooth walls with flat paint; Level 5 for non-flat, gloss or critical lighting conditions), retrieved 2026-09-20.
- Brick Industry Association, Technical Note 3A, Brick Masonry Material Properties (units fired at 1800 to 2100°F / 980 to 1150°C; unit texture and absorption affect bond strength; mortar bonds best below a suction of 30 g/min/30 in², 1.55 kg/min/m²), retrieved 2026-09-20.
- Brick Industry Association, Technical Note 20, Cleaning Brickwork, August 2018 (efflorescence control: allow one year of weathering to naturally remove new-building bloom; identify and correct the water source before cleaning recurring efflorescence), retrieved 2026-09-20.
- APA, The Engineered Wood Association, Oriented Strand Board (thin rectangular wood strands cross-oriented in layers and bonded under heat and pressure with moisture-resistant adhesives; panels conform to Voluntary Product Standard PS 2), retrieved 2026-09-20.
- LEDSupply, Installing LED Flex Strips: Mounting Techniques (one-screw mounting clips at roughly one clip per foot of strip, 15-clip pack listed at $1.99; strips bond well to aluminium track, which is then held to the surface by clips), retrieved 2026-09-20.
- National Retail Federation, 2025 Retail Returns Landscape (total returns for the retail industry projected to reach $849.9 billion in 2025; 82% of consumers say free returns are an important consideration when shopping online), retrieved 2026-09-20.
- MC Polymers, What is tack, peel and shear? (definitions of tack, peel and shear for pressure-sensitive adhesives; difficult to maximise all three simultaneously, and tack and peel are usually in opposition to shear), retrieved 2026-09-20.
- Industrial Physics, PSTC-101 peel adhesion testing (harmonised international peel standard with six methods; Method A peels at 180 degrees at 5 mm per second, Method F at 90 degrees), retrieved 2026-09-20.
