



A kitchen swallows more linear feet of tape than any other room in a house, and most LED strip lights kitchen projects still get quoted as a single line item called lighting. That is where they come apart. A kitchen is not one lighting job; it is four or five small ones with different mounting details and brightness targets, held together by one control scheme. This guide follows the order a contractor works in: cabinets, cove, counters and the bar, dimming, then a parts list you can price.
Key takeaways
Plan a kitchen zone by zone, not roll by roll. Keep every run on one color temperature, put the tape in a channel with a lens wherever a hard surface can reflect it, and choose the control method before the driver.
- A kitchen splits into five strip zones: under-cabinet, cove, counter and bar, open shelving, and toe-kick.
- Dotting and glare are mounting problems, not brightness problems; a channel with a frosted lens fixes most of them.
- Dimming callbacks trace back to a wall control and a driver that were never meant to work together.
- Load a driver to roughly 80 percent of its rated output so it is not running flat out behind a cabinet door.
- Order by zone: tape, channel, driver, control, connectors and end caps.
- Flicker has an order of causes: connections and load at full brightness, control mismatch when dimming, color bins when adjacent runs differ.
01LED strip lights for kitchen cabinets: the short version
Under-cabinet is the one kitchen zone that is already a solved problem, so treat it as a fixed recipe and move on. Mount the tape at the front edge of the cabinet bottom so light lands on the work surface rather than the backsplash, run it in a channel with a frosted lens so a polished countertop cannot bounce a row of dots back at eye level, and keep the run on the same color temperature as the rest of the room. Mounting positions, lens choice and how buyers spec this zone for resale are covered in our under-cabinet LED lighting primer, and this article does not repeat them.
02Using LED strip lights for cove lighting above the wall cabinets
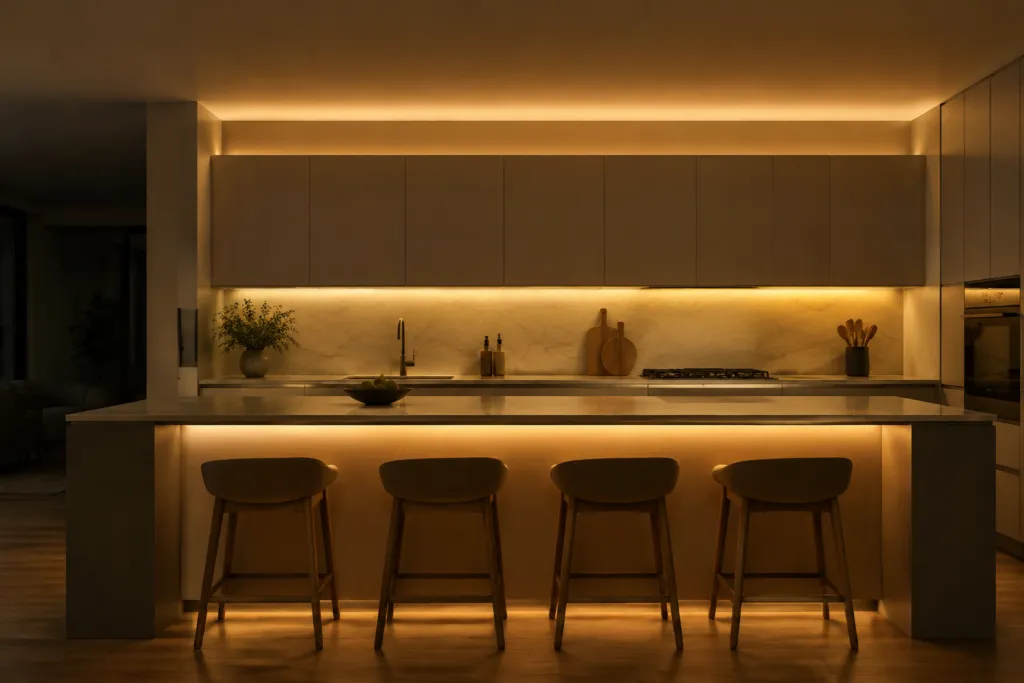
Cove is the layer that makes a kitchen look finished, and the one most often installed wrong. The strip sits in a channel on top of the wall cabinets, or in a built cove near the ceiling, and aims upward, so nobody should see a diode from anywhere in the room. Two dimensions decide whether it reads as a clean wash or a row of scallops: the gap between the tape and the ceiling, and the height of the lip that hides the source.
Give the beam room to spread. Tape typically throws around 120 degrees, so a strip parked two inches under a ceiling paints hard arcs, while the same strip four to six inches down blends into an even band. The shielding lip has to be tall enough that someone at the far side of the island cannot see over it into the channel. Matte white ceiling paint spreads the bounce; anything glossy hands back a hot line.
Color consistency matters more here than anywhere else, because a cove is one long unbroken surface and any mismatch between reels shows up as a seam. Order the whole cove from one production run, and check density and color binning tolerance before you commit. When a spec sheet reads like an alphabet, our LED strip spec decoder walks through what each number controls.
One habit is worth the ten minutes it costs: before the channel is fixed down, tape the strip up temporarily, wait for dark, and look at the ceiling from the farthest seat in the room. Scallops, a visible hot line, or a seam between reels all show up in that one look, while everything is still movable.
03Counter and bar runs: LED strip lighting kitchen ideas that survive daily use
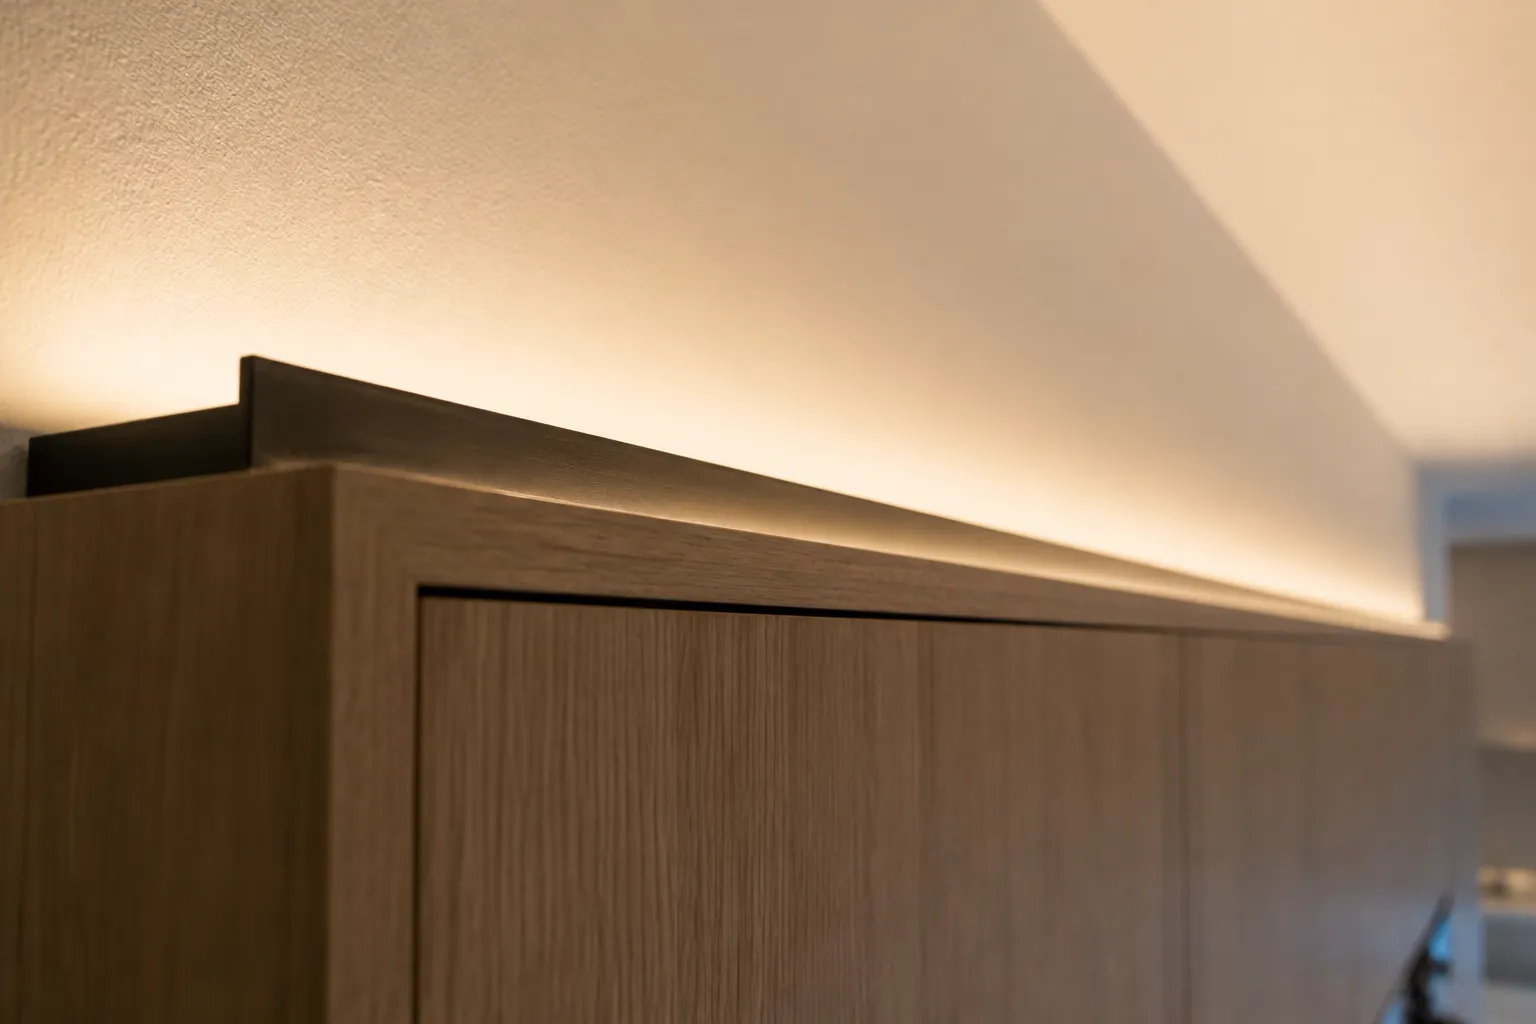
Past the cabinets and the cove, the moves worth paying for are the ones that put light where people stand and sit. The underside of an island or bar overhang is the strongest of them: a run tucked behind the overhang lip lights the seating and the floor without putting a fixture in anyone’s sightline. Open shelving takes tape along the front underside of each shelf, glass-front cabinets take a vertical run down the hinge side so light rakes across the contents, and a toe-kick run becomes a night light nobody has to reach for.
Each has a failure mode worth naming. Overhang runs get kicked by bar stools, so specify a channel with a hard lens rather than bare tape on adhesive. Shelf runs sit at eye level for anyone shorter than the cabinet, which makes a deep-frost lens non-negotiable. Glass cabinet runs need wiring taken through a drilled and grommeted hole, not stapled across the back panel where every photograph of the kitchen will find it.
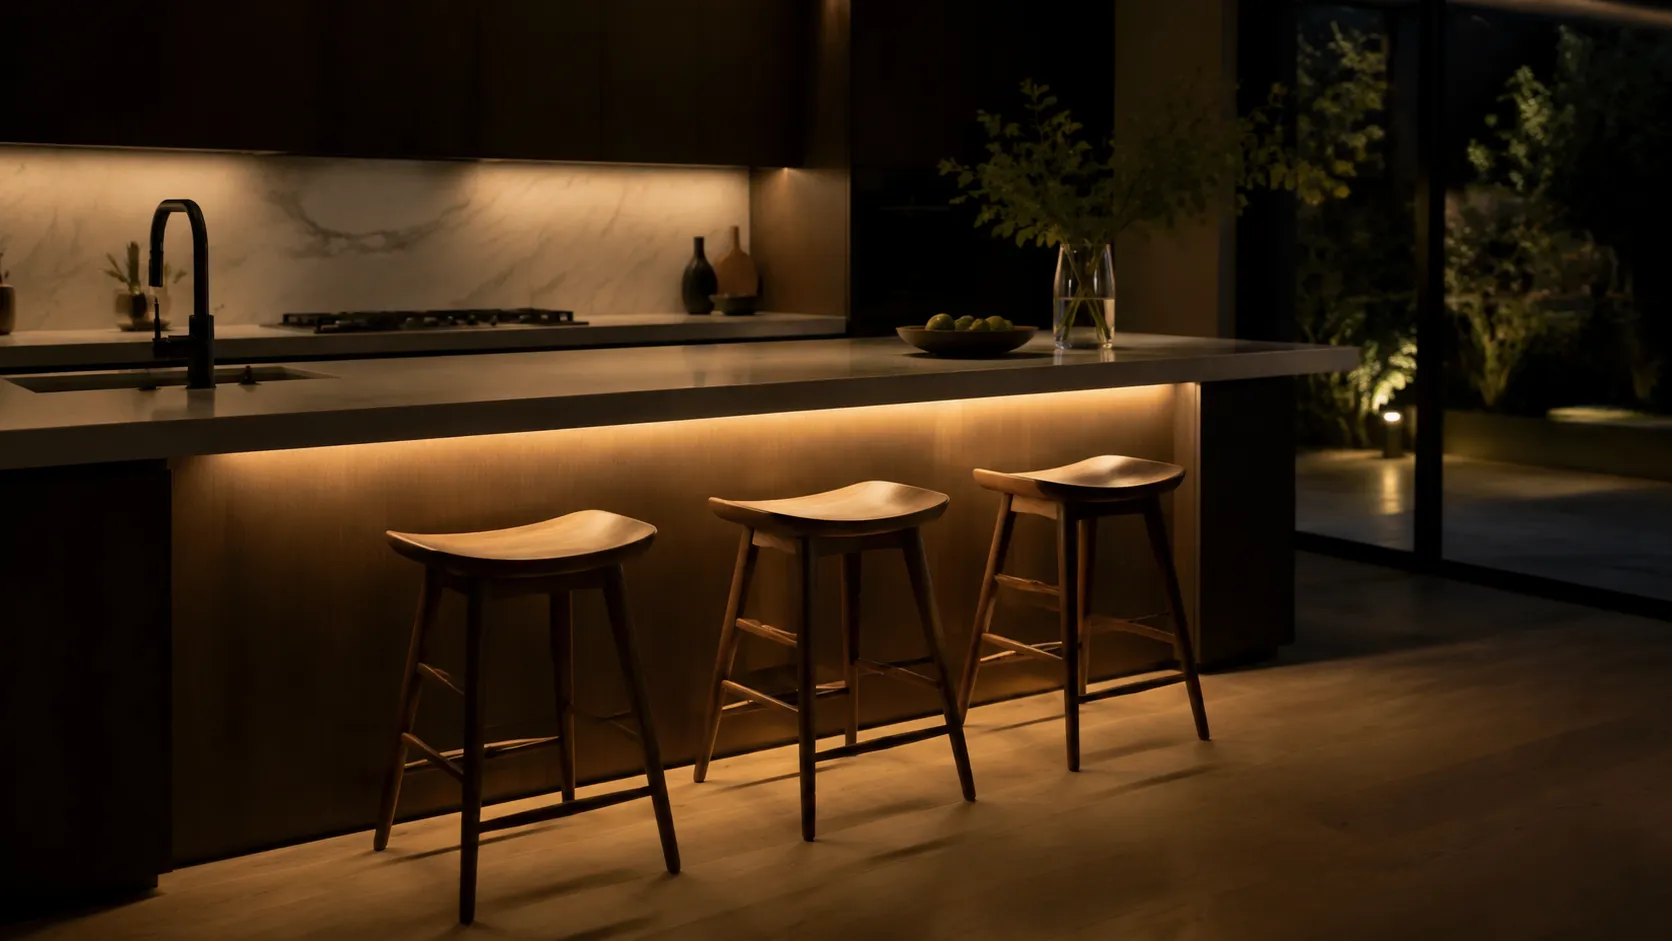
Keep the whole room on one color temperature. Warm white around 2700K to 3000K suits a kitchen that doubles as living space; a neutral 3500K to 4000K reads cleaner against stone and steel. Whichever you pick, a high color rendering index makes food and skin look right underneath it, and mixing two temperatures across zones is the mistake a client notices first.
Source: Feit Electric, “Light Color Temperature Guide: 2700K to 5000K” (retrieved 2026-08-25)
04Choosing a dimmer for LED strip lights without the callback
The most common callback on a kitchen strip job is dimming, and the wall control is not something to grab off a shelf because the box says LED. The tape itself dims one of two ways. Pulse width modulation switches the diodes on and off faster than the eye can follow and varies how long they stay on; constant-current reduction lowers the current instead. PWM holds color better at the bottom of the range and is what most low-voltage controllers use, with one catch: at a low switching frequency it bands on video, which matters in a room photographed as often as a kitchen.
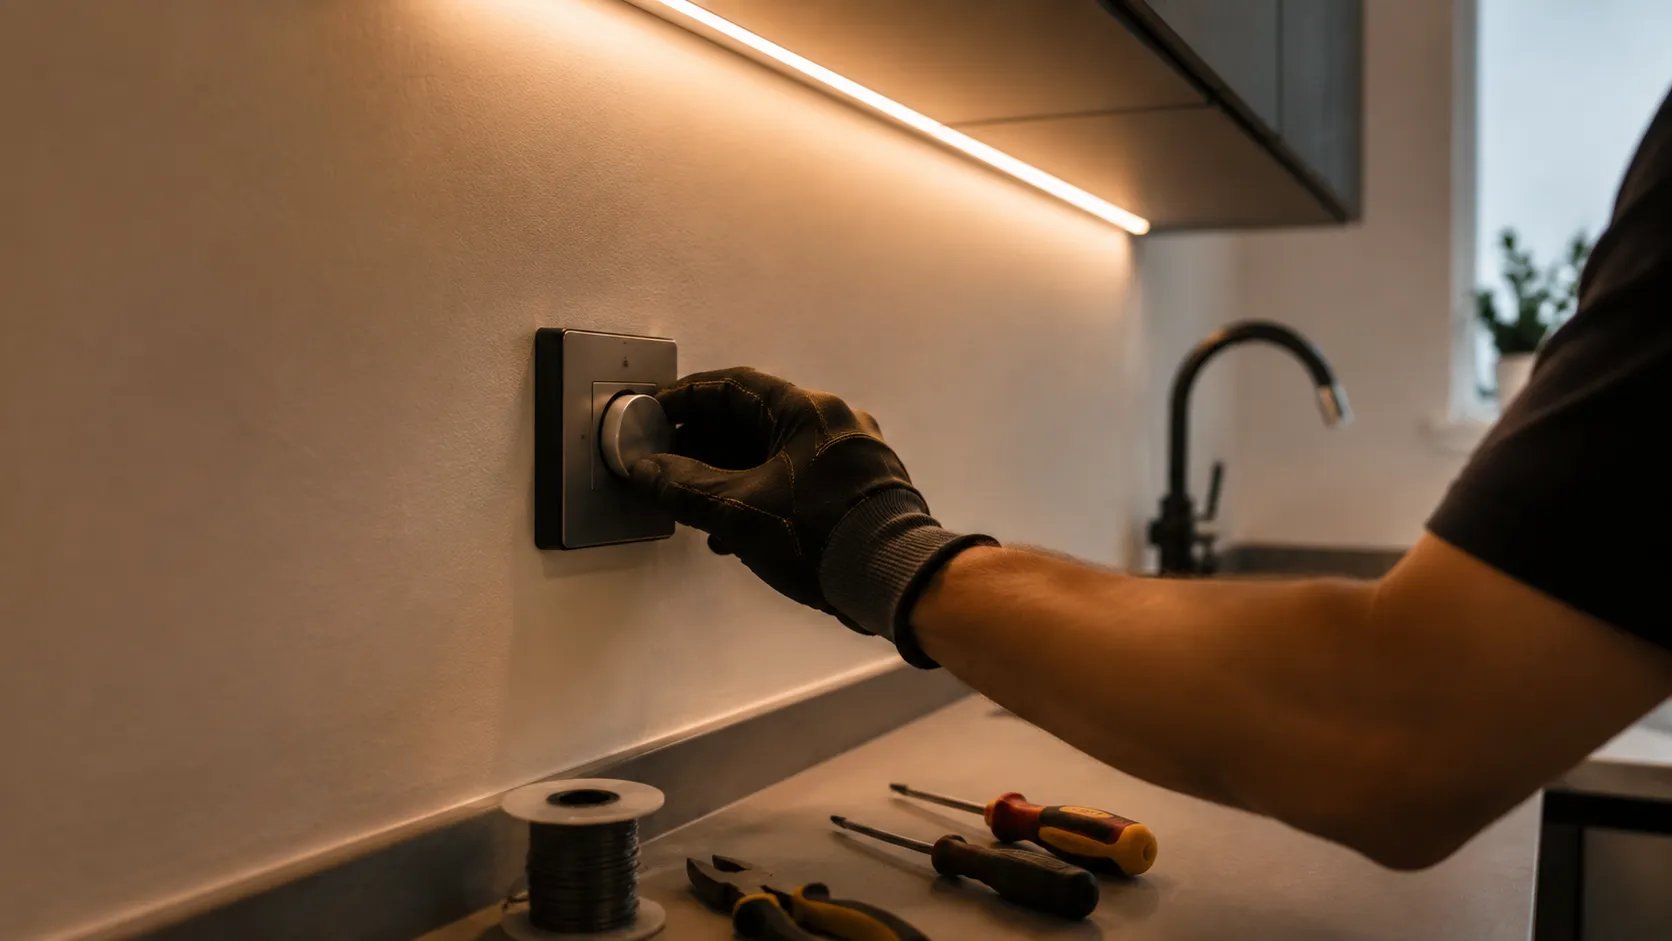
Above the tape sits the driver, and above the driver whatever wall control was specified. All three have to agree. A forward-phase, or TRIAC, dimmer needs a driver built to accept forward phase; hand it a reverse-phase driver instead and you get buzz, flicker, dead travel at the top of the slider and a pop-on at the bottom. Phase dimmers also carry a minimum load, so a single short run can sit below the threshold and stutter on every start. A 0-10V control, or a low-voltage PWM controller between driver and tape, sidesteps both problems and is the safer default on a multi-zone kitchen.
Two habits prevent most of it. Decide the control method before specifying the driver, not after. Then bench-test one complete zone, driver, dimmer and the real length of tape, before the rest of the order ships.
05Sizing the power supply before it sizes you
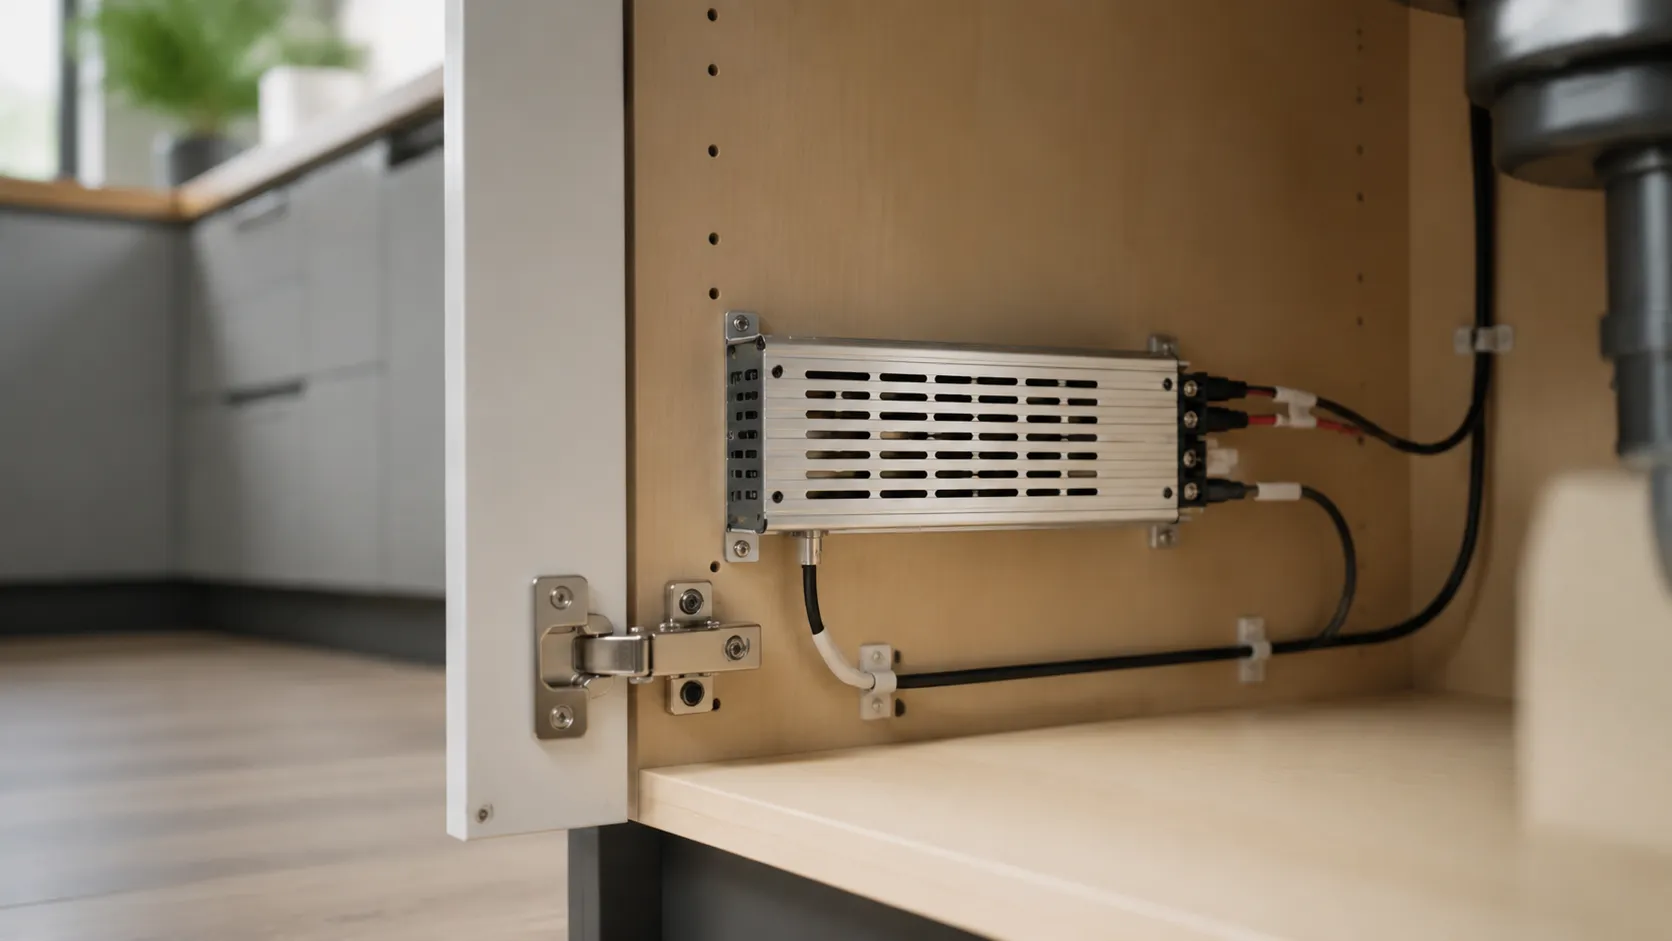
Strip is the rare lighting product where the power supply is bought separately, and most kitchen callbacks that are not about dimming are driver arithmetic done backwards. The load side is multiplication: watts per meter times meters, summed per zone. A four-meter cove run of 10 W-per-meter tape is a 40 W load, and the driver above it should be rated around 50 W, because a supply loaded to roughly 80 percent of its rating runs cooler behind a cabinet door and lasts longer than one running flat out.
Voltage is the second choice, and it interacts with run length. 24 V tape holds brightness over longer runs than 12 V before voltage drop shows, which is why cove and toe-kick runs usually spec 24 V while a short under-cabinet bank can take either (Waveform Lighting). Professional work caps voltage drop at about 3 percent; past that the far end of a run visibly dims and a warm white starts to drift, and the fix is heavier feed wire or a second feed point, not a bigger driver.
Efficiency is why the totals stay small: LEDs use up to 90 percent less energy than the incandescent sources they replaced (U.S. Department of Energy), so even a five-zone kitchen usually lands under a couple hundred watts. What the driver needs more than capacity is air and access. Give it a ventilated base cabinet it can be reached in, never a sealed void, and label which zone it feeds while the layout is still fresh.
06The project parts list
Once the zones are settled a kitchen prices out as a short bill of materials instead of a guess at how many rolls to buy. Measure each run, add the tape a corner eats, then count hardware per zone rather than per room. Two numbers drive the rest: total load, which sets driver size, and total run length, which decides how many feed points a run needs before voltage drop dims the far end.
Split the kitchen into zones
Under-cabinet, cove, counter and bar, shelving, toe-kick. Each is its own line item.
Measure each run
Add what a corner eats. Total length decides feed points before voltage drop dims the far end.
Lock one color temperature
One white point and one rendering index for the whole room, ordered from one production run.
Choose the control, then the driver
The wall control and the driver have to agree before anything ships; total load sets driver size.
Bench-test one full zone
Driver, dimmer and the real length of tape together, before the rest of the order ships.
Give each zone its own driver so one failure cannot take the whole kitchen dark. Where a run has to be shortened on site, remember tape only cuts at its marked intervals; if that is going to drive the layout, our guide to cutting LED strip lights covers where those points fall and how to rejoin a cut section. Around the sink and the range, check the ingress protection class of the tape rather than assuming it, which is a subject of its own in waterproofing LED strip lights.
| Zone | Tape | Channel and lens | Power and control | Watch for |
|---|---|---|---|---|
| Under-cabinet | One run per cabinet bank | Shallow channel, frosted lens | One driver per bank | Dots reflected in a polished counter |
| Cove above cabinets | Continuous run, corners included | Deep channel, shielding lip | One zone, one dimmer | Scalloping when tape sits too close to the ceiling |
| Island or bar overhang | One run per overhang face | Channel with a hard lens | Shares the task zone | Knocks from stools |
| Open shelving and glass cabinets | One run per shelf or door | Deep-frost lens | Feed through the cabinet back | Visible wiring, uneven color between shelves |
| Toe-kick | Continuous along the base | Low-profile channel | Own switch or motion control | Mopping and moisture at floor level |
Add connectors, corner links, mounting clips and end caps to each row before totaling: they are what holds up a job in its last hour, and the cheapest line to over-order.
07When a zone flickers: the ten-minute diagnosis order
Flicker after handover follows a short list, and checking it in order saves a return visit. If the zone flickers at full brightness, the fault is upstream of dimming: a loose connector, an overloaded driver, or voltage drop on an over-length run (Waveform Lighting). Reseat the connections, confirm the driver is not running past its rating, and check whether the far end of the run has dimmed relative to the feed end.
If it only misbehaves while dimming, the wall control and the driver are arguing. A forward-phase dimmer on a driver built for reverse phase produces exactly this, along with pop-on at the bottom of the slider, and a phase dimmer sitting under its minimum load will stutter on a single short run (Lutron). Before replacing hardware, revisit whether the dimmer for LED strip lights you specified matches the driver family; moving that one zone to a 0-10V or low-voltage PWM control path resolves most cases.
Color drift between adjacent runs is the third call, and it is a purchasing fault rather than an electrical one: reels from different production runs sit in different color bins, and two bins that measure close on paper read as a seam on one ceiling. The fix costs nothing at order time, ordering each visual surface from one run, and cannot be fixed cheaply after.
Sourcing strip for a kitchen program
BeginLighting builds smart LED light strips at our own factory in Foshan, on the same lines and through the same checks as the products we sell under our own retail brand. If you are specifying strip for a run of kitchens or a cabinet program that repeats, send the zones and lengths and we will quote against them. Pricing is per project rather than listed.
08Watch it work
The zone-by-zone plan, in 31 seconds:
FAQ
Is LED strip lighting safe?
Low-voltage LED tape, installed properly, is one of the calmer things in a kitchen: it runs at 12V or 24V, carries no flame and stays warm rather than hot. The risk sits in the parts around it. Overloading a driver, or shutting one inside a sealed cabinet with no airflow, is the usual cause of an early failure. Bare tape stuck to a wooden shelf with nothing to sink its heat into runs hotter than the same tape in an aluminum channel. Wiring pulled through a drilled hole without a grommet eventually chafes. Keep tape out of standing water, keep drivers ventilated and reachable, and have a licensed electrician make any line-voltage connection to local code.
How to hide LED strip lighting?
Hide the source, not the light. Every zone needs something standing in front of the tape: a shielding lip on a cove, the front rail of a cabinet bottom, the lip of a bar overhang, or a channel recessed into a routed groove so the lens finishes flush with the surface. Where nothing structural is available, a surface channel with a deep-frost lens at least hides the individual diodes. Wiring is the other half of the job. Decide where the driver lives before the tape goes up, usually inside a base cabinet with airflow and access, then run low-voltage wire through drilled and grommeted holes in cabinet backs instead of across any visible face.
How to do LED strip lighting?
Work in the same order every time. Split the kitchen into zones, measure each run and add for corners, then fix one color temperature and one rendering index for the whole room. Choose the control method before the driver so the two are compatible, and size the driver to about 80 percent of its rated output. Pick a channel and lens per zone based on what will be visible from standing height. Then dry-fit: power up each zone on the bench, at the real lengths, before anything is stuck down, because adhesive comes off cleanly exactly once. Clean the mounting surface, use the clips as well as the tape, and cap the ends so nothing peels.
How many feet of LED strip can you run on one power supply?
It is two limits, not one. The wattage limit is arithmetic: total tape wattage should sit at roughly 80 percent of the driver rating. The voltage-drop limit usually bites first on long runs: past about a 3 percent drop the far end dims visibly, which is why long runs use 24 V tape, heavier feed wire, or a second feed point rather than a bigger driver. The practical ceiling depends on the tape’s watts per meter, which is why manufacturers publish a maximum run length per product (Waveform Lighting). When a run approaches that figure, plan wiring, not wattage.
What color temperature is best for kitchen LED strip lights?
Pick one named white point and keep every zone on it. Soft white at 2700 K and bright white at 3000 K suit kitchens that double as living space; neutral white at 3500 K and cool white at 4000 K read cleaner against stone and steel; daylight at 5000 K is best reserved for pure task areas (Feit Electric). The specific point matters less than consistency: one kitchen, one temperature, ordered from one production run, is the rule that keeps the room looking finished.
Sources
Every external figure above was checked on 2026-08-25. Dimming compatibility comes from the control industry’s own technical papers; electrical behavior from LED strip manufacturers’ published engineering guides.
- Feit Electric, Light Color Temperature Guide: 2700K to 5000K (the five named white points in the chart above), retrieved 2026-08-25.
- Lutron Electronics, Controlling LEDs technical white paper (phase-control dimmer and driver compatibility, flicker, pop-on and dead travel), retrieved 2026-08-25.
- Lutron Electronics, Minimum and Maximum Loads for LED and CFL Lamps (why a single short run can sit below a phase dimmer’s minimum load), retrieved 2026-08-25.
- Waveform Lighting, What is LED strip voltage drop (why long runs need feed points and maximum run lengths), retrieved 2026-08-25.
- Waveform Lighting, Troubleshooting LED Strip Problems (flicker and dimming faults and their usual causes), retrieved 2026-08-25.
- NEMA Enclosures, IP Ratings Explained: Ingress Protection under IEC 60529 (the ingress classes to check around the sink and range), retrieved 2026-08-25.
- ENERGY STAR / U.S. Department of Energy, Lighting fact sheet (LEDs use up to 90% less energy and last up to 25 times longer than incandescent bulbs), retrieved 2026-08-26.
